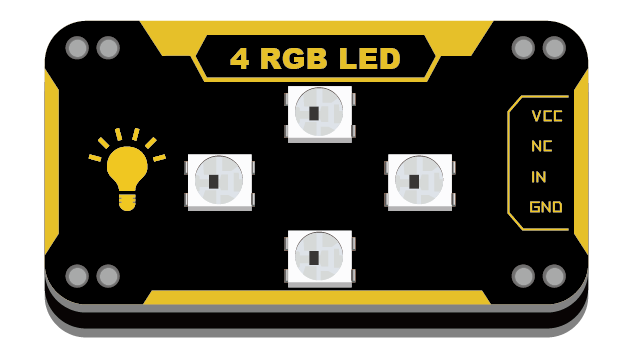
4RGB LED
来自Labplus盛思维基百科
概述
单板级联4颗RGB灯珠,采用LED专用主控芯片WS2812,支持单总线控制,仅需一根管脚即可控制所有LED,不占用管脚资源。可实现256级亮度显示,16777216种颜色的全真色彩显示颜色。
技术参数
- 工作电压:VCC 3.3-5V
- 通讯方式:单总线控制
- 功 率:0.3W/颗
- 级联4颗灯珠
- 灰度等级:256级
- 16777216种颜色的全真色彩
- 模块尺寸:24x46x7.5mm
引脚定义
| VCC | 电源 |
| NC | 空脚 |
| DI | 控制数据信号输入 |
| GND | 地 |
使用教程
掌控板
 |
Arduino示例
// 程序功能:控制4个RGB灯依次按红绿蓝颜色点亮//
// This is a demonstration on how to use an input device to trigger changes on your neo pixels.
// You should wire a momentary push button to connect from ground to a digital IO pin.  When you
// press the button it will change to a new pixel animation.  Note that you need to press the
// button once to start the first animation!

#include "Adafruit_NeoPixel.h"

#define PIXEL_PIN    7    // Digital IO pin connected to the NeoPixels.

#define PIXEL_COUNT  4    //级联数量

// Parameter 1 = number of pixels in strip,  neopixel stick has 8
// Parameter 2 = pin number (most are valid)
// Parameter 3 = pixel type flags, add together as needed:
//   NEO_RGB     Pixels are wired for RGB bitstream
//   NEO_GRB     Pixels are wired for GRB bitstream, correct for neopixel stick
//   NEO_KHZ400  400 KHz bitstream (e.g. FLORA pixels)
//   NEO_KHZ800  800 KHz bitstream (e.g. High Density LED strip), correct for neopixel stick
Adafruit_NeoPixel strip = Adafruit_NeoPixel(PIXEL_COUNT, PIXEL_PIN, NEO_GRB + NEO_KHZ800);

void setup() {
  strip.setBrightness(50);     //调亮度
  strip.begin();
  strip.show(); // Initialize all pixels to 'off'
}

void loop() {
	for(uint16_t num1=0;num1<PIXEL_COUNT;num1++)
	{
		strip.setPixelColor(num1,255,0,0);  //设置红色
	}
	 strip.show();   //显示
	 delay(500);
	 for(uint16_t num1=0;num1<PIXEL_COUNT;num1++)
	{
		strip.setPixelColor(num1,0,255,0);   //设置绿色
	}
	 strip.show();   //显示
	 delay(500);
	  for(uint16_t num1=0;num1<PIXEL_COUNT;num1++)
	{
		strip.setPixelColor(num1,0,0,255);    //设置蓝色
	}
	 strip.show();    //显示
	 delay(500);

}
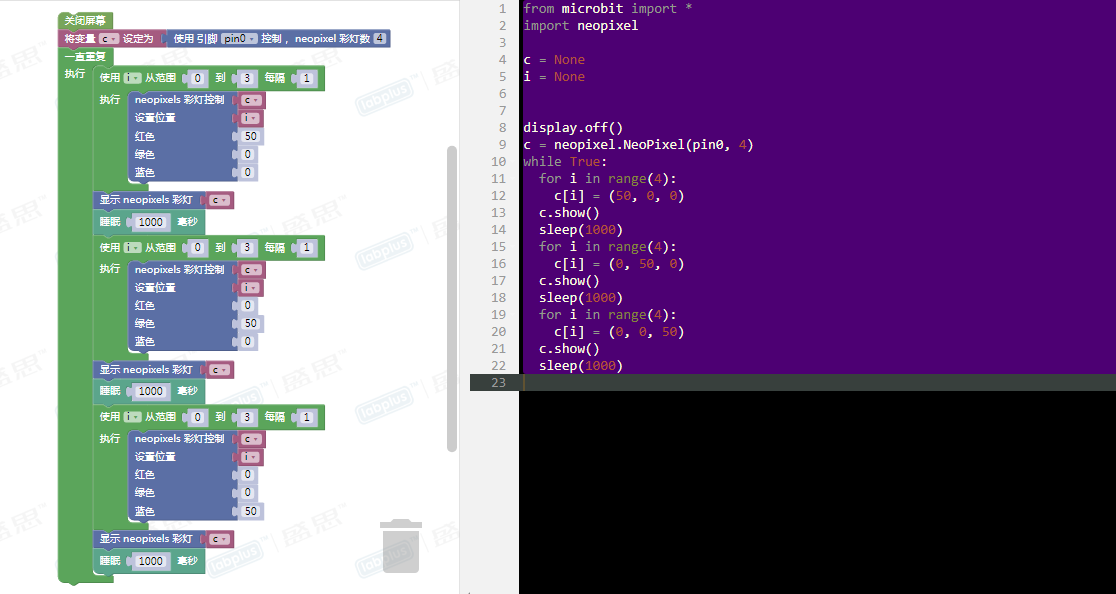
MicroPython示例
注意:彩灯位置是从"0"开始计算,如控制N个彩灯,依次为np[0]...np[n-1]
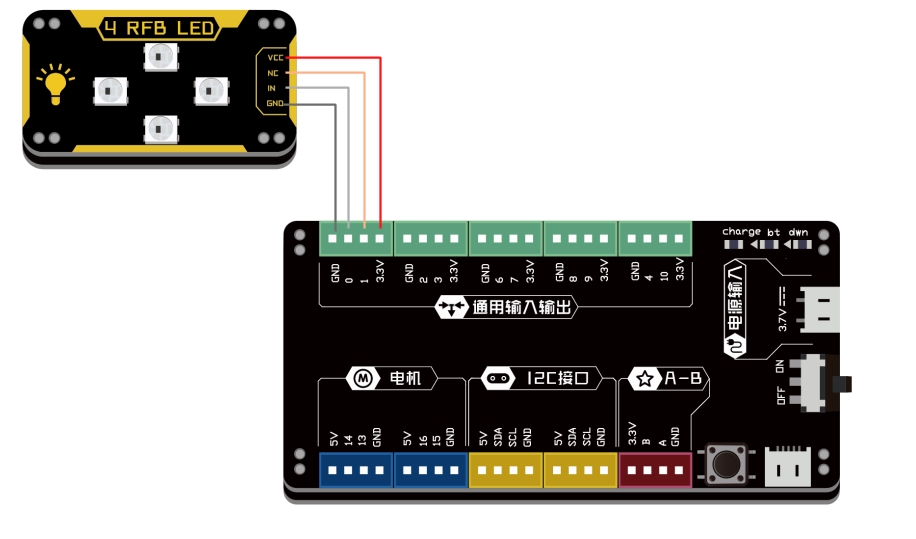
连接示意图
from microbit import *
import neopixel
display.off()

np=neopixel.NeoPixel(pin0,4)      #pin0为控制引脚,级联4个RGB


while True:
    for i  in range(4):
        np[i]=  (255,0,0)               #设置4颗灯珠显示颜色,颜色为红
    np.show()                           #刷新显示颜色
    for i  in range(4):
        np[i]=  (0,255,0)                #设置4颗灯珠显示颜色,颜色为绿
    sleep(1000)
    np.show()                           #刷新显示颜色
    for i  in range(4):
        np[i]=  (0,0,255)               #设置4颗灯珠显示颜色,颜色为蓝
    sleep(1000)
    np.show()                            #刷新显示颜色
    sleep(1000)
图形化示例
连接图同上
 |
版本历史记录
| Version | Date | Note [+]新增[-]删除[^]修复 |
|---|---|---|
| V2.0 |