“模板:Microbit编程快速入门”的版本间的差异
来自Labplus盛思维基百科
小 |
小 |
||
| 第6行: | 第6行: | ||
|} | |} | ||
| − | <big>Step2.</big> | + | <big>Step2.</big>Microt:bit 串口驱动安装:如需要USB串口打印数据可安装该驱动,不需要可跳过。双击mbedWinSerial.exe,按提示安装串口驱动。进入官网下载 ( http://labplus.cn/index.php/product/download )<br /> |
::{|border="0" cellpadding="0" width="45%" | ::{|border="0" cellpadding="0" width="45%" | ||
|- | |- | ||
| − | | [[文件: | + | |[[文件:Mbed serial.png|200px|无框]] |
|} | |} | ||
| − | + | <big>Step3.</big>硬件识别:USB接口连接至电脑,打开电源开关。电脑将自动识别到可移动存储设备MICROBIT。<br /> | |
| − | <big>Step3.</big> | ||
::{|border="0" cellpadding="0" width="45%" | ::{|border="0" cellpadding="0" width="45%" | ||
|- | |- | ||
| − | |[[文件: | + | | [[文件:Microbit u盘.png|400px|无框]] |
|} | |} | ||
| + | <br /> | ||
| + | |||
| − | <big>Step4.</big> | + | <big>Step4.</big> 程序设计:打开mpython编程软件,根据需要选择图形化编程或python代码编程方式来完成程序。点击软件指令区,选择对应指令进行编程,更方便快速的设计程序。也可点击菜单栏“模块化”,可切换至代码编程<br /><br /> |
::{|border="0" cellpadding="0" width="45%" | ::{|border="0" cellpadding="0" width="45%" | ||
|- | |- | ||
| 第31行: | 第32行: | ||
|} | |} | ||
| − | |||
| − | |||
更多m:python编程软件操作说明可查看 http://wiki.labplus.cn/index.php?title=Mpython | 更多m:python编程软件操作说明可查看 http://wiki.labplus.cn/index.php?title=Mpython | ||
2018年3月12日 (一) 12:15的版本
Step1.m:python编程软件安装:
双击mpythonSetup.exe按提示安装编程程序。进入官网下载 ( http://labplus.cn/index.php/product/download )
系统要求:windows7/windows8/windows10,32/64位;windows XP。
Step2.Microt:bit 串口驱动安装:如需要USB串口打印数据可安装该驱动,不需要可跳过。双击mbedWinSerial.exe,按提示安装串口驱动。进入官网下载 ( http://labplus.cn/index.php/product/download )
Step3.硬件识别:USB接口连接至电脑,打开电源开关。电脑将自动识别到可移动存储设备MICROBIT。
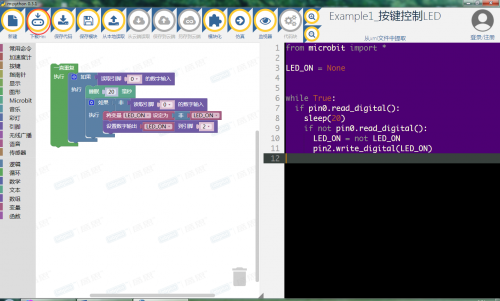
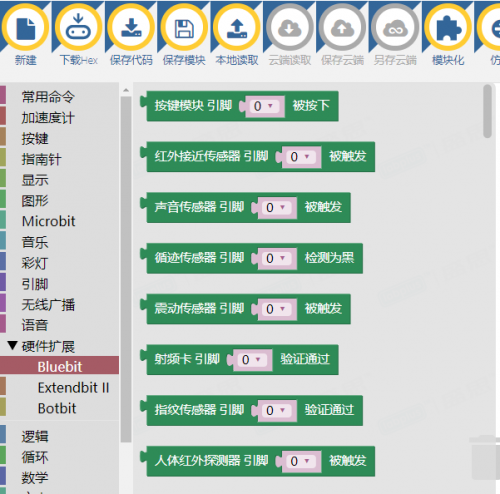
Step4. 程序设计:打开mpython编程软件,根据需要选择图形化编程或python代码编程方式来完成程序。点击软件指令区,选择对应指令进行编程,更方便快速的设计程序。也可点击菜单栏“模块化”,可切换至代码编程
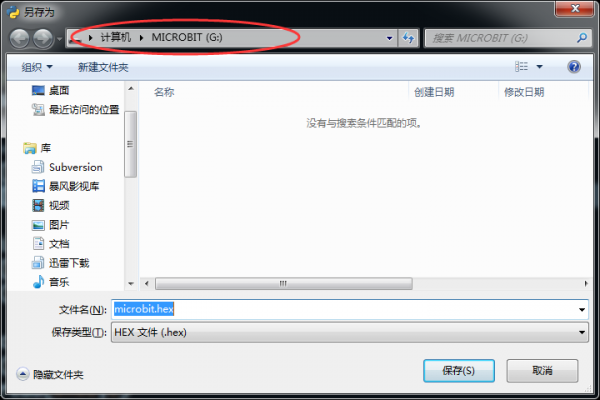
Step5. 程序完成后,点击 ,下载程序并保存到microbit可移动盘上 ,待下载指示灯闪烁完毕后,说明程序下载成功。
更多m:python编程软件操作说明可查看 http://wiki.labplus.cn/index.php?title=Mpython


